


How to Build a Retaining Wall
Basic Retaining Wall Steps
Spray paint line for wall, dig/excavate ground
Begin building the wall by spray painting a line as to where the wall will be constructed. Then begin digging/excavating the ground so that you will have enough room for 6” of compacted gravel plus ½ the first curse block buried and 3” in front and behind the wall for room to work and adjust.
Add base material for wall and compact
After you’re done excavating the footer, start compacting 6” of gravel or pour a 1’ of concrete base (for walls higher than 4’) at the lowest spot. This is the most important step, as you must have a solid base for your wall to last, and not collapse.
Laying first course at lowest point, keeping it level
Beginning at the lowest point, start laying your stone, while making sure it is level. Build one section of wall at a time, beginning with the first course until you need to step up the wall. Keep building the first course for the entire wall, keeping everything level. Use a torpedo level to check to make sure each block is level, and a 4' level to make sure the last 2 or 3 blocks are level.
Adding additional wall courses
After the first course is built, then stack additional blocks creating 2nd and 3rd, etc. courses of wall units until you reach desired height. Keep in mind, if using Unilock pre-cast concrete units, it is not recommended to go higher than 4'.
Backfilling and drainage
After the wall is at desired height, you will need to backfill behind the wall. Begin by laying fabric against the ground to separate subsoil from the wall. The fabric lets water through, but prevents soil from mixing with gravel, which will be used as backfill. After the fabric is in place, lay a 4” drainage tile in the bottom of the pit between the fabric and the wall for drainage. This is essential so that no extra force and freeze/ thaw will happen behind the wall. When the drainage tile is completed and properly exiting from behind the wall; begin backfilling with stone such as 57’ limestone. Leave a few inches on top of the gravel for soil for a top layer, while leaving enough room so mulch will not wash over the wall.
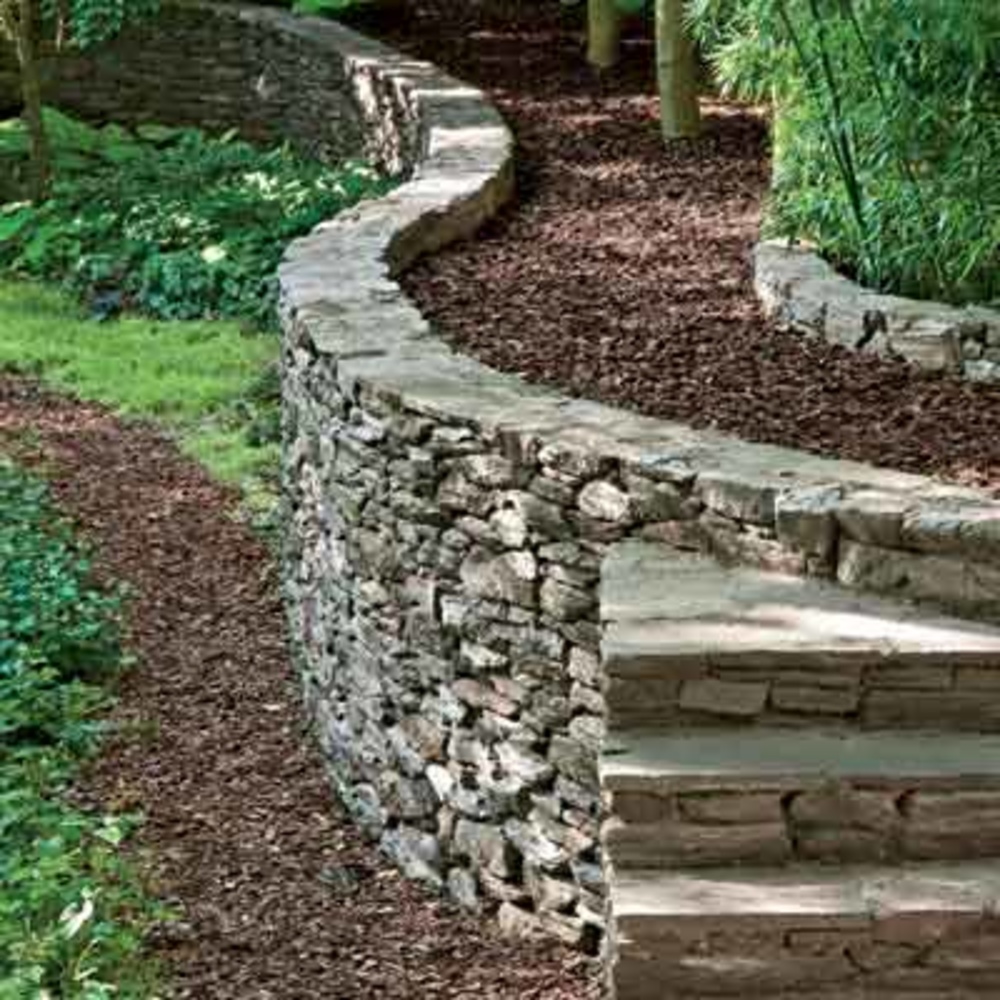
Cutting Block for Curves, Snug Fit
Some stone will need to be cut to create curves and it is recommend to use a dry brick saw that has a diamond tip blade. This makes the cutting process much easier, while saving time. You can use tapered block, half blocks, and corner blocks which allow you not to have to cut, and still get curves and desired look from your wall.
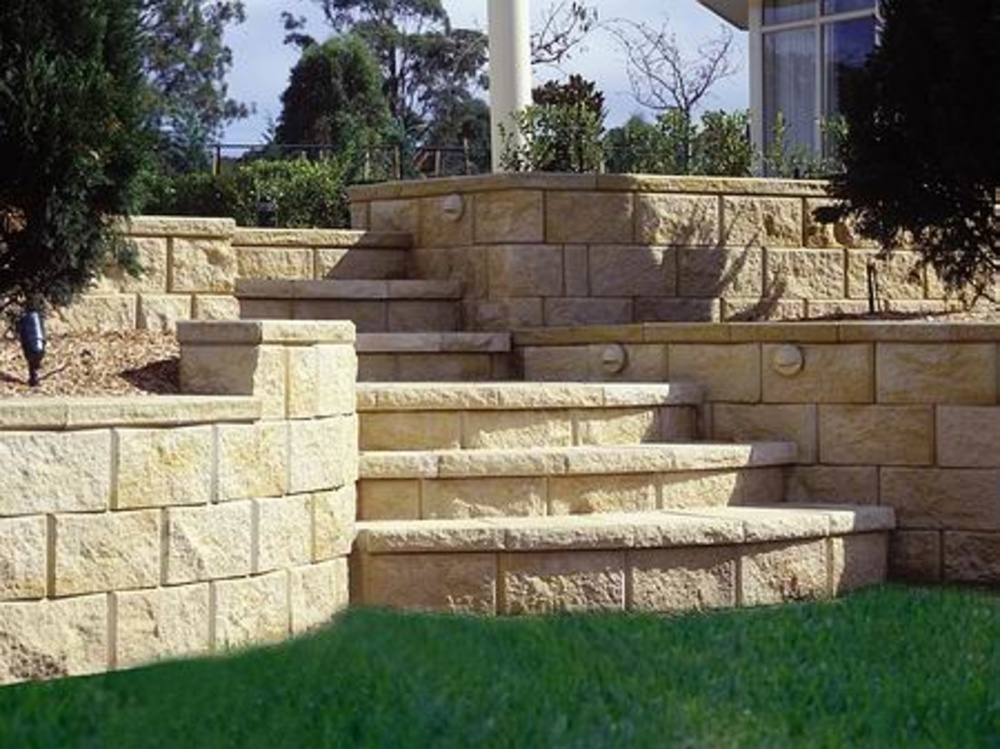
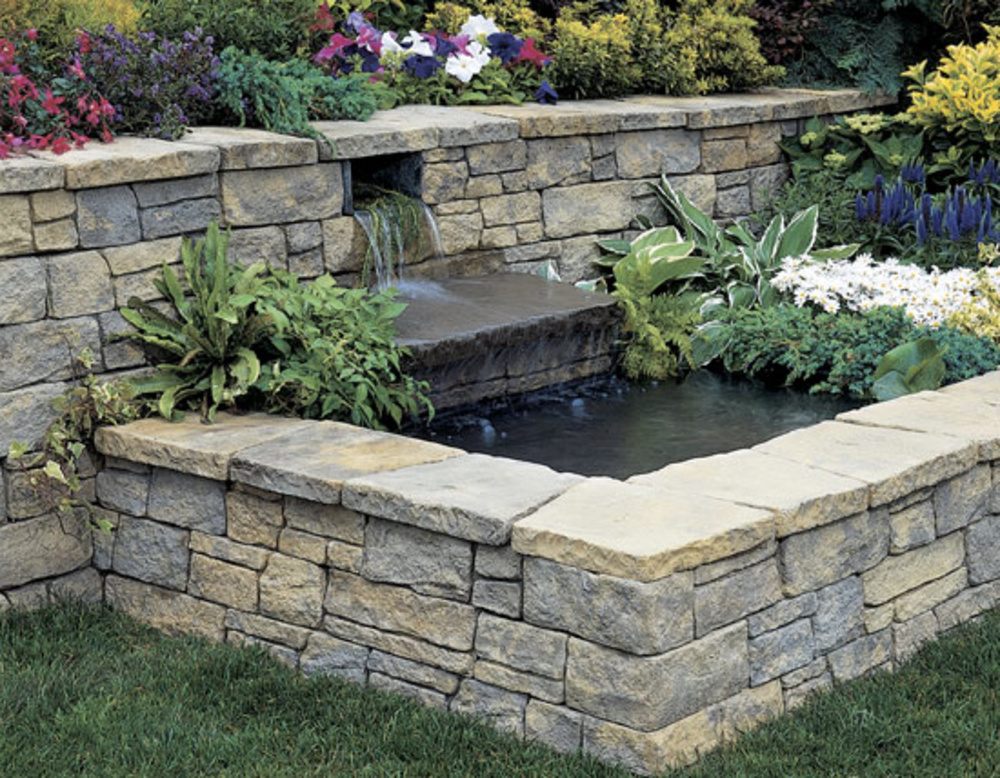
Coping to finish top of wall
The next step is to apply the coping or capstone. This is used to finish the top of the wall and give it a clean look. Coping is only 3” thick, and is held in place with adhesive chalking. The actual wall is held together by the lip design into the actual wall unit. Coping can be rock faced, which gives it a rough finish or left smooth which is nice if it will be sat on.